TLT: What are the goals of your current research program?
Jacobs: I’m obsessed with the idea of linking scales in tribology. We all know that the measurement of surface properties—adhesion, friction and wear—dates back hundreds of years. And the recent decades have seen an explosion of fundamental-science research into the nano- and even atomic-scale processes governing the behavior of surface and interfaces. One of the most exciting challenges currently facing our field is the linking of these two threads. The payoff for doing so would be huge: novel, science-based strategies for improving system-scale performance—strategies that could not be found using trial-and-error or empirical laws.
I think the key to linking length scales in tribology lies in understanding surface topography and its effect on properties. You’ll never predict the friction of a piston ring in a cylinder from atomic-scale studies of materials, nor the adhesion of a robotic tool in a manufacturing process, nor the slipping of a shoe on a floor, nor the wear of a medical implant. These applications are strongly influenced by the component-scale geometry of the contacting parts and the surface texture that was intentionally imparted on top of that geometry. And they are often influenced just as strongly by the many scales of defects and features and grains and facets that were unintentionally introduced on top of that surface texture through manufacturing, sometimes stretching down to atomic-scale corrugation. To make prediction even trickier, this multi-scale topography often evolves over time due to mechanical deformation and wear.
That’s the bad news. The good news is that there is a lot of exciting work in the simulation and modeling community that can already account for all of these scales of topography and, under various assumptions, determine the resulting performance. Those are the giants whose shoulders we are trying to stand on. As I see it, the biggest limitation of applying these models in the real world is supplying accurate input information about the components we are trying to describe. The models and simulations typically require two types of surface characterization for the contacting bodies: (1.) knowledge of the fundamental interactions between the contacting materials and (2.) knowledge of the full, multi-scale topography of their surfaces.
TLT: Where does your work come in?
Jacobs: The work in our group breaks into two categories that correspond to these two types of surface characterization. First, we are trying to better understand the atomic-scale interactions between surfaces by performing highly controlled tribological experiments inside of a transmission electron microscope. That way, we can measure the shape and crystallography of the bodies, along with the real-time size of their contact under load, all with simultaneous measurements of contact properties like adhesion and electrical conductivity. In the last few years, we have investigated adhesion and deformation in nanoscale needles composed of metals, oxides and covalently bonded materials to understand their behavior. In our current work, we’re moving to nanoparticles, which have direct technology relevance as lubricant additives, as plasmonic sensors, in nanophotonics and in catalysis. But a key motivation for us is still the fundamental insight that they provide into atomic-scale surface interactions.
Second, we are trying to more accurately measure multi-scale surface topography of real-world surfaces. The way we do this is to measure a single surface using many complementary techniques—from conventional techniques like stylus and optical profilometry, to unconventional techniques like cross-section scanning electron microscopy and transmission electron microscopy. We’ve been investigating the topography of materials from wear-resistant diamond-based coatings to floor tiles for commercial buildings to additively manufactured metal components. We call this method “comprehensive topography characterization.”

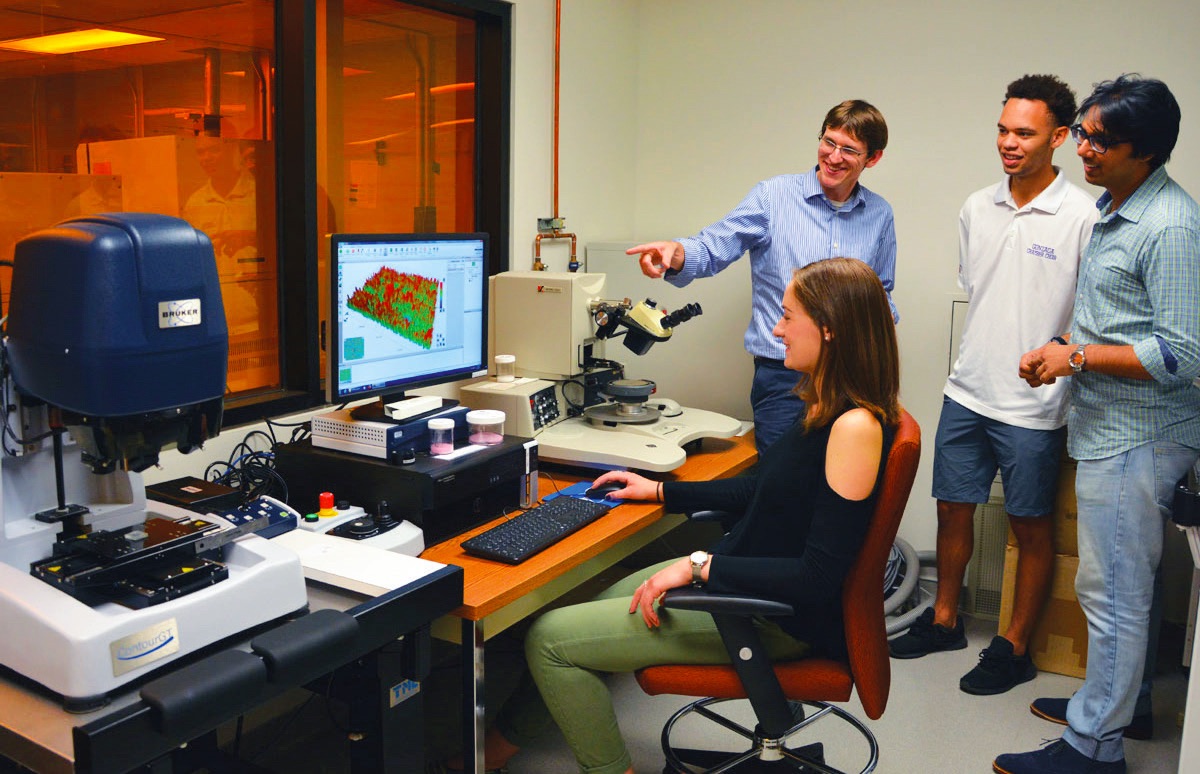
Optical profilometry, shown here, is one of the many surface measurement techniques that can be combined together for comprehensive topography characterization. The tool is being operated by Katerina Kimes (seated). Shown standing are Tevis Jacobs (left), Cameron Kisailus (center) and Abhijeet Gujrati (right).
TLT: How does this differ from standard topography measurement?
Jacobs: Well, conventional topography metrics—like Ra, as measured using a stylus profilometry and following ISO standards—certainly have their place. They have advantages in terms of ease of use, connection to historical data and serving as a benchmark for, say, knowing when you have done enough of a certain kind of polishing. But these single metrics will never be sufficient to predict performance; they only show a small part of the total picture. Any single measurement is performed over a limited range of size scales, from the minimum resolution to the maximum scan size at the chosen magnification, and any specific technique has artifacts, such as tip-radius effects or instrument noise.
By using a variety of techniques and by measuring all of the length scales, from the atomic-scale (Angstroms) up to the component-scale (centimeters), we attempt to get a complete picture of the surface. We don’t need to choose ahead of time which metric is best or which scales are more important; instead, we can try a variety of different analysis methods and see which provides the most useful information for a given application.
Here’s a recent example: We measured an ultrananocrystalline diamond coating using more than 100 different measurements performed at various resolutions using stylus profilometry, atomic force microscopy and transmission electron microscopy.
1 We showed that we can combine these 100+ measurements into a single statistical description of the surface using the power spectral density (PSD).
2 This allows us to gain insights into how topography varies over different size scales. We performed similar comprehensive topography characterization on three other diamond-based films.
3 Then, armed with this topography information, we performed adhesion experiments against soft materials
4 and hard materials
5 to determine the scales of roughness that have the largest effect on performance for these different applications, and to gain insight about which models best describe the performance and why.
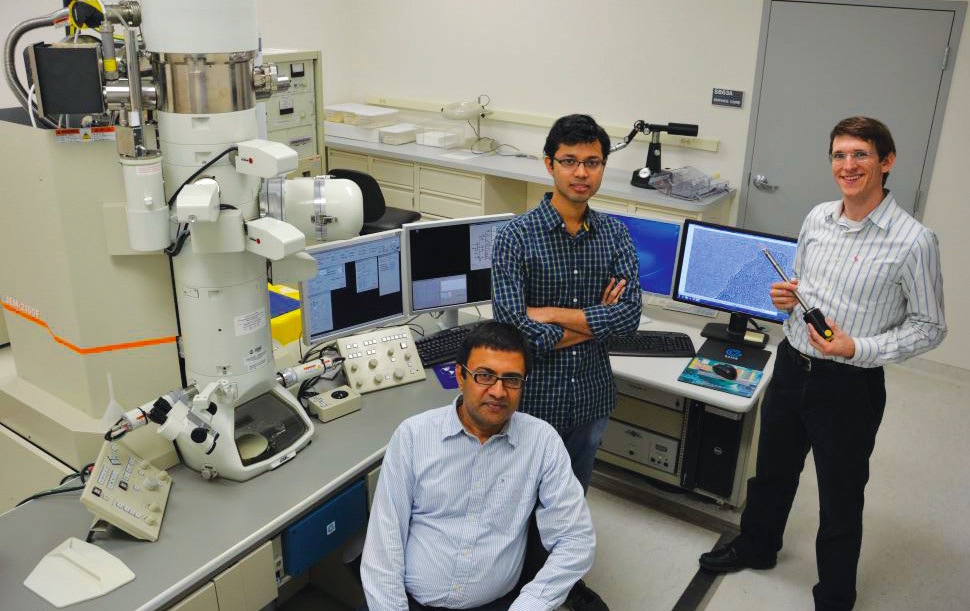
 High-resolution TEM is used in the Jacobs group, both for performing in situ nanoscale tribological experiments and for measuring atomic-scale surface topography. From left to right: Subarna Khanal, Sai Vishnubhotla and Tevis Jacobs.
TLT: How does comprehensive topography measurement get us closer to linking scales in tribology?
Jacobs: The important point is that these measurements should eventually lead to better models for predicting surface properties like adhesion and friction. Many current models make use of the power spectral density of the topography, and those models have demonstrated the need for this comprehensive topography in order to make accurate predictions.
But we are not claiming that the power spectral density is the “right” analytic to use. It might be the case that there will be other analysis methods (such as the autocorrelation function [ACF], or a metric like root-mean-square slope, or new fractal-analysis approaches that are only just emerging now), which will yield even better information about a surface. By acquiring and reporting these comprehensive topography measurements, we don’t need to commit to a single analysis or metric.
Another goal in our group is to publish all of these many topography measurements for a single surface, and to release this data in a freely accessible form so that others can run their models and simulations on the data and come to their own conclusions. There’s no way a single research group is going to “solve” this problem of linking scales in tribology. Instead, our goal is to get people to measure and think about topography differently so that the community can attack this problem as a whole, and we have a better chance of getting it right.
One unmet need here is having a standardized way to measure and report a complete description of the topography of a surface. While individual topography measurements are easily communicated as a 2D or 3D height map, it’s more difficult to report a large collection of topography measurements that are taken at multiple resolutions and with multiple different instruments for a single surface. As an attempt to remedy this, my collaborator Lars Pastewka (University of Freiburg) and I have created a freely available web application—
https://contact.engineering—where researchers and industry professionals can upload many measurements of the same surface and compile them into a single container, which we call many “measurements” from a single “surface.” Users can then run common analytic functions, such as PSD or ACF, or compute scalar metrics, such as the root-mean-square slope. There is even a functionality to apply a Boundary Element Method solver to predict quantities like deformation of the contact under load and true contact area. Importantly, users can choose to keep the surfaces totally private, share them with collaborators or, if they wish, publish the surfaces for all to see. As an example, we’ve published all of the diamond-based surfaces described earlier, including the ultrananocrystalline diamond surface.
6
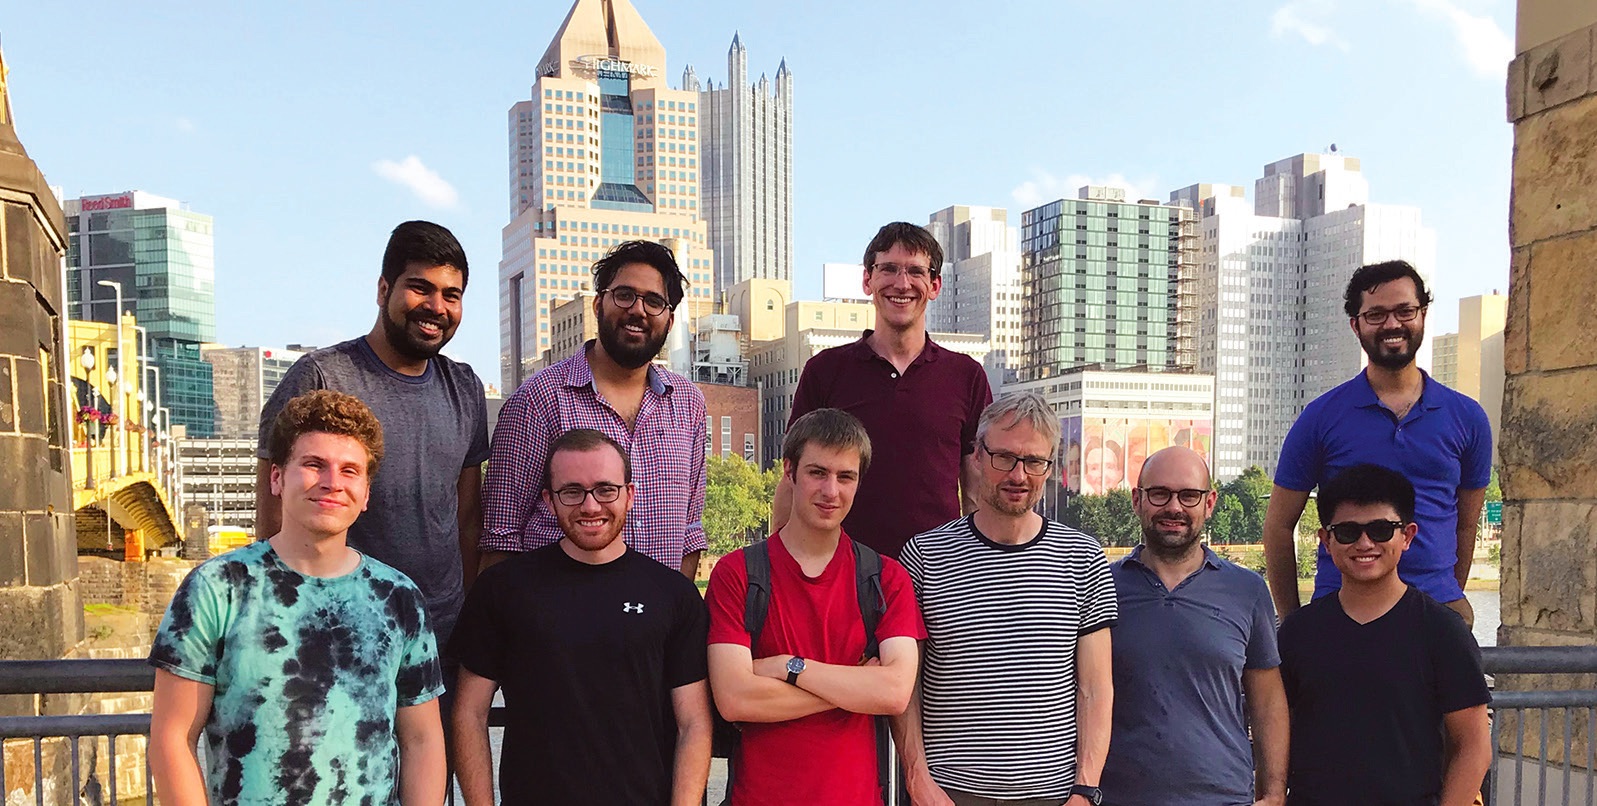
 A photo of Jacobs’ research group, out on the town with collaborator Lars Pastewka (third from right).
TLT: What does success look like?
Jacobs: Well, in my group, we analyze the heck out of surfaces, including taking transmission electron microscopy cross-sections to determine the atomic-scale corrugation. It’s simply not practical to spend that much time on surface topography in most research contexts, let alone in an industry setting. But if we, as a community, are successful here, then that level of analysis won’t be necessary.
Success looks like generating enough experimental measurements and enough raw topography data that we can apply and evaluate the many competing descriptions of topography-dependent properties. Success looks like figuring out what is the
right data to collect and what is the
right analysis to apply. And it is almost certain that those
right answers will vary, depending on the materials and the loading conditions.
But, ultimately, success looks like finding a way to link all of the length scales together into a single understanding where we can harness atomic-scale insights into material behavior and use these to optimize performance on a system scale.
REFERENCES
1.
Gujrati, A., Khanal, S.R., Pastewka, L. and Jacobs, T.D. (2018), “Combining TEM, AFM, and profilometry for quantitative topography characterization across all scales,”
ACS Applied Materials & Interfaces, 10 (34), pp. 29169-29178.
2.
Jacobs, T.D., Junge, T. and Pastewka, L. (2017), “Quantitative characterization of surface topography using spectral analysis,”
Surface Topography: Metrology and Properties, 5 (1), 013001.
3.
Gujrati, A., Sanner, A., Khanal, S.R., Moldovan, N., Zeng, H., Pastewka, L. and Jacobs, T.D. (2020), “Comprehensive topography characterization of polycrystalline diamond coatings,”
Surface Topography: Metrology and Properties, accepted.
4.
Dalvi, S., Gujrati, A., Khanal, S.R., Pastewka, L., Dhinojwala, A. and Jacobs, T.D. (2019), “Linking energy loss in soft adhesion to surface roughness,”
Proceedings of the National Academy of Sciences, 116 (51), pp. 25484-25490.
5.
Thimons, L.A., Gujrati, A., Sanner, A., Pastewka, L. and Jacobs, T.D. (2020), “Hard-material adhesion: Which scales of roughness matter most?”
Experimental Mechanics, under review.
6.
Gujrati, A., Khanal, S.R., Pastewka, L. and Jacobs, T.D. (2020), “Ultrananocrystalline diamond (UNCD) (Version 1),” Contact.Engineering. Click
here.
You can reach Tevis Jacobs at tjacobs@pitt.edu.